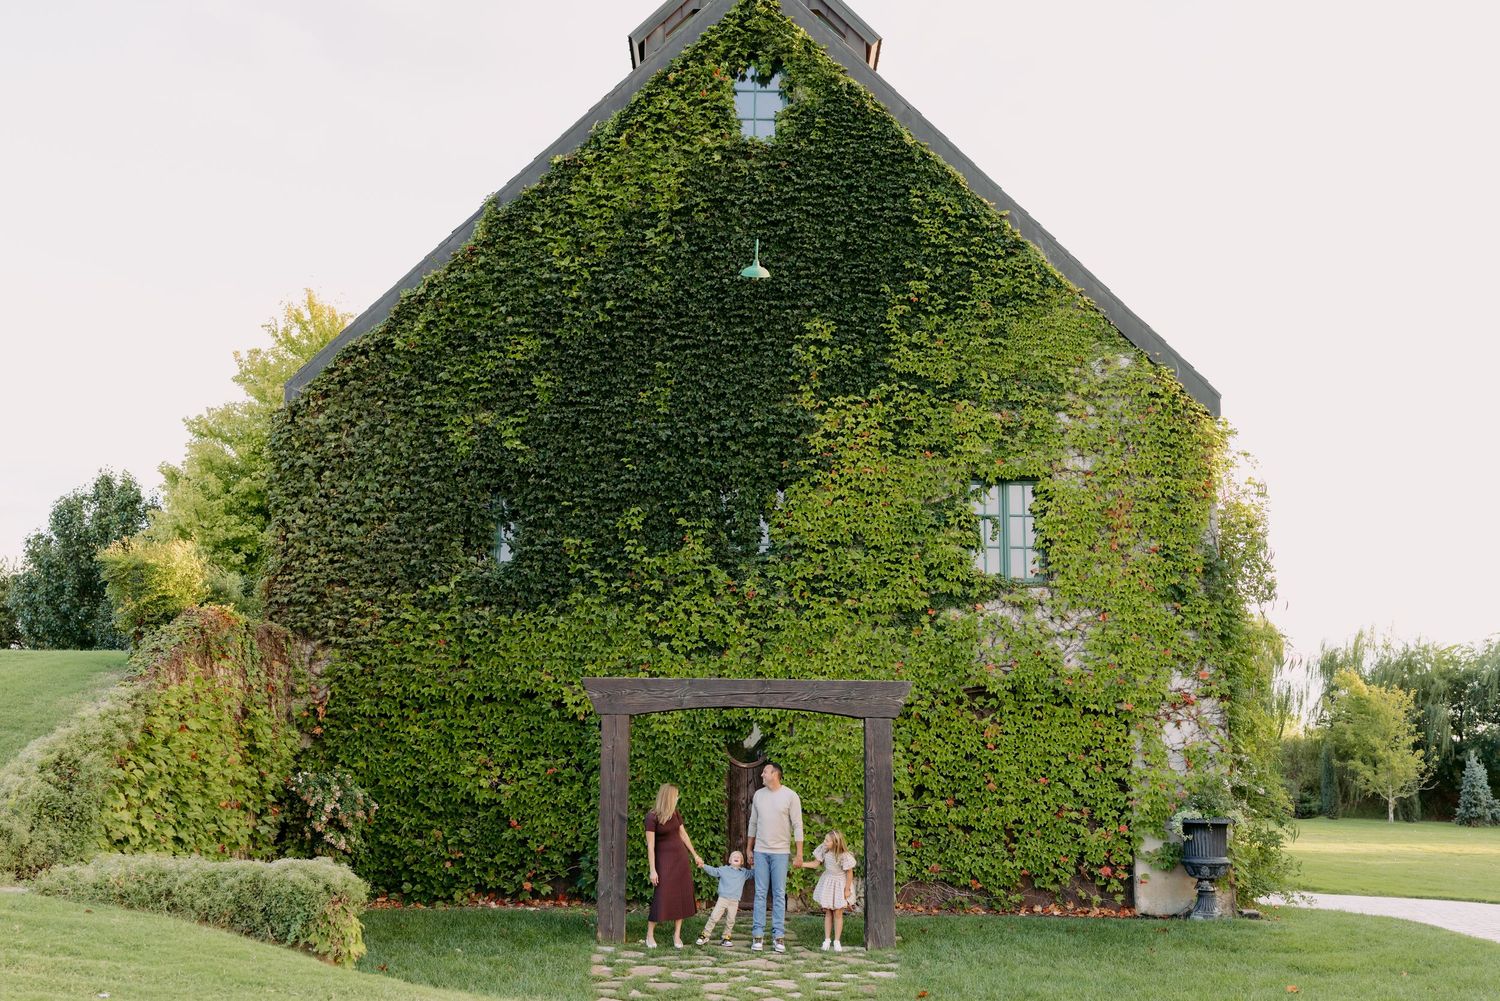

Post your photos like your photographer
You just received your beautiful professional gallery and can't wait to post them on social media. With a few simple steps, we can avoid blur and poorly cropped images so your post allows
the photos to shine!
Instagram & Facebook settings
Let's check your social media settings to avoid those blurry photos!
INSTAGRAM: Click on the three lines in the upper right corner of your profile for Settings and Activity. Under "Your Apps and Media" click on Media Quality. Make sure "Upload at the highest quality" is checked. If this is not checked, your phone may prioritize upload speed over image quality.
FACEBOOK: Click on Menu. In the upper right corner, click on the icon that looks like a gear (Settings and Privacy). Scroll down to Preferences and then click on Media. Depending on the version, you may see Video and/or Photo Quality, make sure Optimized is checked and Data Saver is not.
Fix the crop with the
scrl app
ensure every photo is cropped correctly! Bonus - scrl also helps create beautiful carousel posts.
SCRL: While there are in-app purchases available. you only need the free version. Instagram makes it tricky to share both landscape and portrait photos in one post. Typically when posting directly through the Instagram app, it will use the orientation of your first photo in a collage. If you choose portrait, for example, your landscape photos will likely have heads cut off because the app will crop them to be portrait mode. This is where SCRL comes in handy. It allows you to choose the orientation, then size photos correctly for each image.
You can choose either orientation, but Instagram favors a portrait post. This is because your phone screen itself is vertical. You can choose the traditional 4:5 size or click W:H and select 3:4 which allows a little bit more vertical space and is perfect for posting iPhone photos without having to crop. I personally love the 3:4 size. Then, choose how many slides you would like to post. The app makes it super simple to upload photos to your carousel. When adding landscape photos, simply fit them within the portrait post. Once finished, save to your camera roll and post each slide in order on Instagram.
Important steps for posting
once you have your images ready to share, don't forget these important steps.
DON'T RE-UPLOAD PICTURES: In my experience, if you try to delete and
re-upload photos after already choosing all your images, they will post blurry. This is probably due to Instagram's compression algorithm. It's worth starting over if you realize you want to post different photos.
ADJUST THE PREVIEW: After posting, you can adjust the preview on your feed. Just open the post and click the three dots in the upper right corner. Then click "adjust preview" and it will allow you to move the image so that what you want is viewable on your feed.
DON'T APPLY FILTERS OR EDITS: Your photographer has worked tediously to color grade and edit your photos. It's important to accurately represent their work. Often, this is actually included in the legal contract you have signed with your photographer. Understandably, they don't want to see their work misrepresented.
TAG YOUR PHOTOGRAPHER: It is important to credit any creative's work when you share. It's a simple step but incredibly important in helping them grow their business. Please remember to do this when you post professional photos.
I hope this helps you share your beautiful images with family and friends in a way that allows the photos to truly shine!